
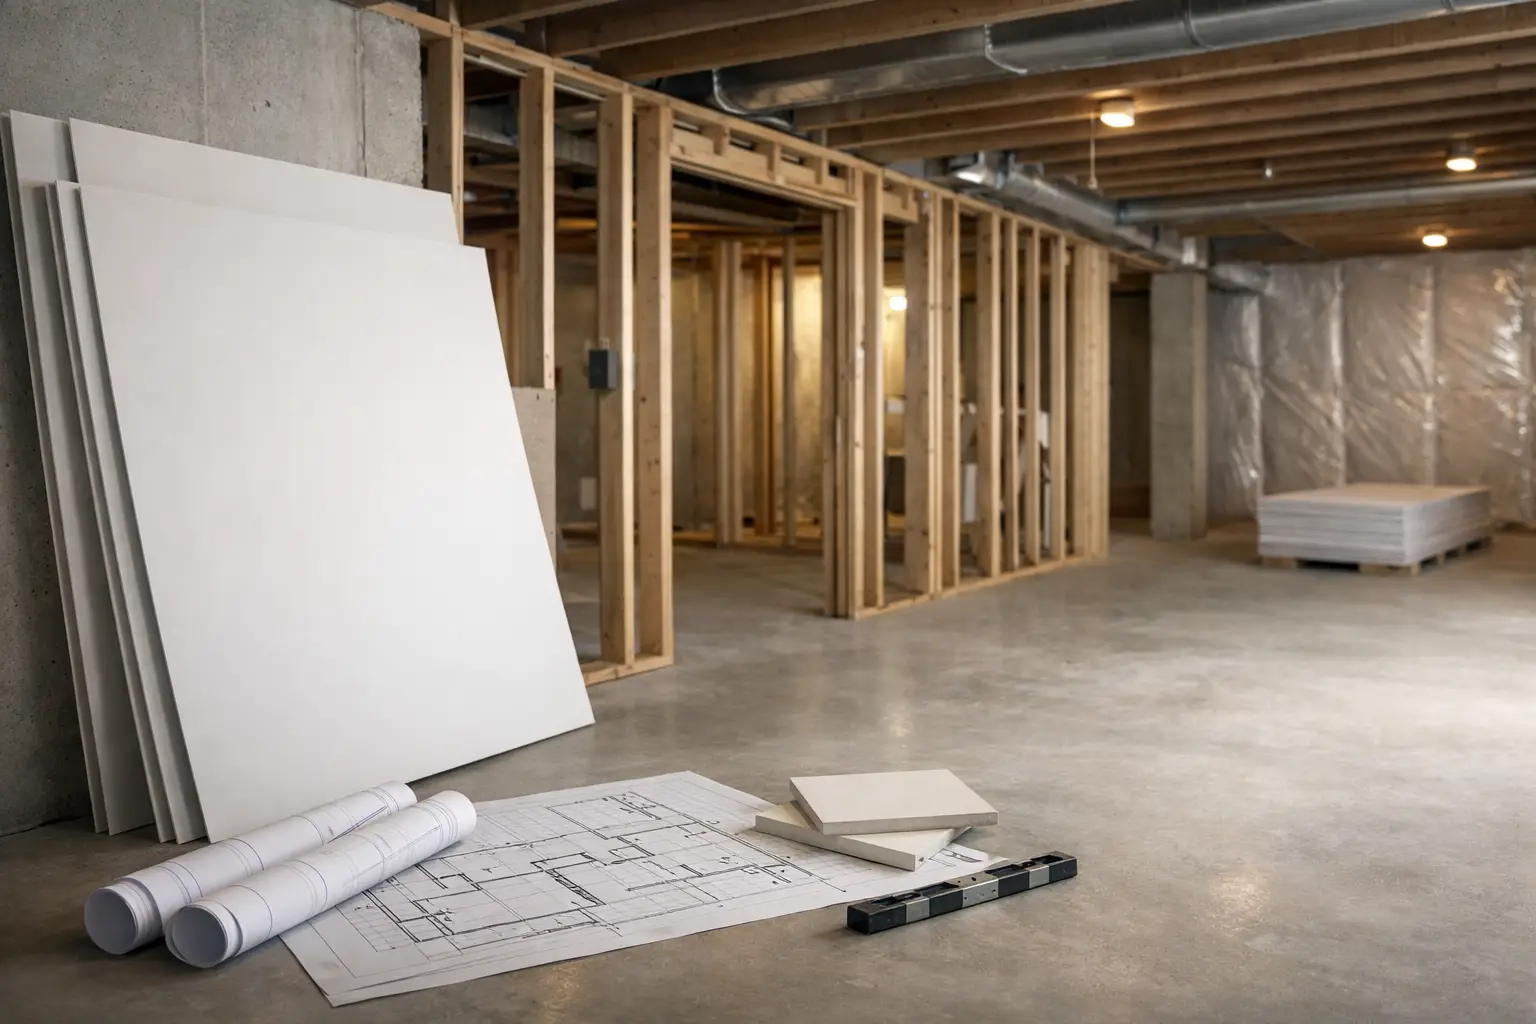
A basement can look ready for drywall long before it actually is. Fresh framing and insulation make the room feel close, but covering the walls too soon can leave you dealing with visible board joints, awkward bulkheads, blocked access panels, or repairs that require opening finished walls later. Knowing how to plan basement drywall means checking the whole assembly first, then deciding how the board, corners, ceiling lines, and finish will work together.
For basements in Owen Sound and across Grey Bruce, planning also needs to account for Ontario’s changing seasons. Below-grade spaces can be cooler and more prone to humidity changes than the rest of the house. Drywall is the finish layer, not the solution to a damp or unfinished space. A little preparation before boarding starts protects the appearance of the finished room.
Start With a Dry, Complete Basement
Before drywall goes up, the basement should be dry and the source of any active water issue should be addressed. Look for staining, damp framing, water at the wall base, condensation, or a persistent musty smell. Drywall and joint compound need a stable, dry environment to perform properly, so do not plan to cover conditions that are still changing.
The framing should also be complete, straight, and securely fastened. A bowed wall or uneven ceiling line can show through the finished surface, especially where light runs across it from a window or pot light. Check that studs are in sensible locations for sheet edges and that there is solid backing where two sheets will meet.
This is also the right time to make sure insulation and vapour control details are complete for the basement wall system being used. The exact approach depends on the existing foundation, wall design, and renovation scope. What matters for drywall planning is that the wall assembly is finished, dry, and ready to be covered without reopening it.
Confirm What Needs to Happen Behind the Drywall
Drywall installation should come after the work inside the walls and ceilings is complete. That includes any planned mechanical runs, blocking, low-voltage details, and other items that need to be in place before the board closes the cavity. Coordinate the sequence with the appropriate trades and your renovation schedule rather than treating drywall as an early placeholder.
Walk through each room with the finished layout in mind. Mark locations for access panels where future service access is required. It is far easier to plan a neat, intentional access panel than to cut into a newly finished ceiling or wall later. Decide where wall-mounted items may go too. Blocking can be added now for shelves, televisions, handrails, cabinets, or other heavier fixtures, avoiding guesswork after the walls are finished.
Door openings, niches, soffits, and bulkheads deserve extra attention. These smaller areas use many cuts and corners, which makes them more noticeable when lines do not match. Confirm the final dimensions before drywall is measured or ordered.
How to Plan Basement Drywall Layout
A good board layout reduces unnecessary joints and puts seams where they are less likely to stand out. Start by measuring every wall and ceiling, including bulkheads, stair walls, window returns, closet areas, and any boxed-out sections. Do not rely only on the overall basement square footage. A room with several corners and openings takes more planning and more finishing work than a simple open rectangle.
Whenever practical, use longer sheets to reduce butt joints. Fewer joints generally mean less taping, less sanding, and fewer places for light to reveal a slight imperfection. Sheet direction depends on the framing, ceiling design, and room dimensions. On walls, horizontal installation is often useful because it can reduce the number of tapered joints and place seams at manageable heights. In other situations, vertical sheets make more sense. The best choice is the one that gives proper support at edges and the cleanest layout for the room.
Ceilings need their own plan. Long, uninterrupted ceiling runs can be difficult to finish invisibly if butt joints fall in prominent areas. Consider the direction of natural light, windows, and planned lighting. A seam that looks fine under general room light may show clearly when light washes across it from one direction.
Allow for normal cut-offs and waste when estimating materials. Extra board is useful for unexpected cuts, damaged edges, small returns, and future patches. Ordering only the exact calculated square footage often creates delays.
Plan joints around openings and corners
Avoid placing a drywall joint so it lines up with the corner of a door or window opening. Those locations are more likely to develop cracks as the building moves slightly over time. Full sheets that span past an opening, with the opening cut out afterward, create a stronger result when the layout allows it.
Outside corners need durable corner bead and enough straight backing to keep them crisp. Inside corners need consistent framing and a realistic finish plan. In a utility area, a straightforward finish may be appropriate. In a family room, office, or bedroom, clean corner lines and a higher-quality finish matter more because the walls will be viewed up close every day.
Choose the Right Board and Finish Level
Standard drywall is suitable for many dry, finished basement spaces, but board selection depends on the location and the room’s intended use. Areas with specific moisture exposure, fire separation requirements, or impact concerns may call for different products or assemblies. Follow the project requirements and local building expectations, and confirm the right materials before installation begins.
The finish level should match the room, lighting, and final wall treatment. A basic utility room does not need the same degree of refinement as a basement rec room with smooth painted walls. Paint sheen matters as well. Flat paint is more forgiving, while higher-sheen finishes reflect more light and make minor surface variations easier to see.
If you are planning a smooth painted ceiling, be especially realistic about lighting. Large windows, bright overhead fixtures, and directional light can expose joints that would disappear in a darker storage area. This does not mean smooth ceilings are a poor choice. It means the board layout, taping, sanding, and final inspection need to be planned for the finish you expect.
Build the Schedule Around Drying Time
Basement drywall is not finished when the last sheet is screwed in. Taping, multiple coats of compound, drying time, sanding, touch-ups, priming, and painting all need room in the schedule. Cold or humid conditions can slow drying, and rushing between coats can lead to soft compound, uneven sanding, or delayed finishing.
Keep the basement at a stable, suitable temperature while the work is underway. Good airflow helps compound dry consistently, but direct, extreme heat is not a substitute for allowing adequate drying time. Plan other dusty work carefully as well. Sawing, flooring demolition, or heavy traffic through a freshly sanded area can create more cleanup and touch-up work.
The order of trades affects the final result. Flooring, trim, painting, and drywall each need clear working space and protection from damage. A drywall contractor can often help identify the practical sequence for the finishing stage, particularly where ceilings, stairwells, bulkheads, or complex renovations are involved.
Do a Pre-Drywall Walk-Through
Before the first sheet goes up, take one slow walk through the basement and look at it as if the walls were already finished. Check that framing is straight, corners have backing, openings are correct, insulation details are complete, and planned access points are marked. Confirm that materials can be carried into the space without damaging completed work and that there is a clear area for cutting and staging sheets.
It also helps to identify the rooms that need the best finish. A basement bedroom, home office, or main family space may deserve more attention than a storage room. Let that priority guide layout decisions, joint placement, and the amount of finishing work allowed in the schedule.
A well-planned basement drywall project feels uneventful once installation begins. The walls close up in the right order, joints land where they should, and the finished space is ready for paint instead of another round of changes. If the layout or finish expectations are unclear, bringing in a dedicated drywall contractor before boarding starts can save a great deal of rework later.


